thumbprint portraits - the process

Grace - A Thumbprint Portrait, Step by Step....
Grace is one of my friend Lindsay’s two lovely daughters, and I am about to begin her thumbprint portrait and thought I’d take this opportunity to show the process step by step, for whoever might be interested.....
First, we inked both of her thumbprints and scanned them so that we could see them in detail and decide which one’s pattern would make for a better portrait:
(Her mom selected the right one.)
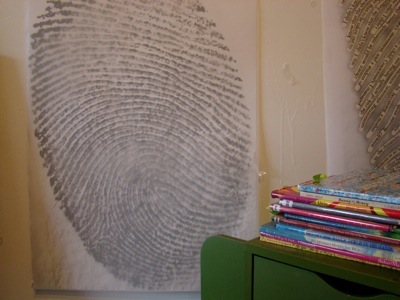
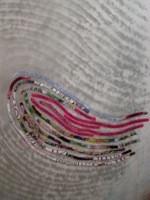
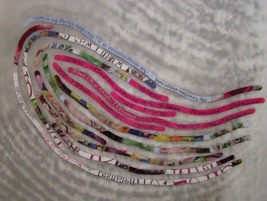
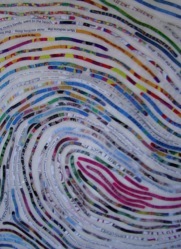
Then I had the selected thumbprint enlarged at Kinko’s to approximately 24” x 36” in size, hang it on my studio wall and overlay a translucent sheet of engineering vellum of the same size. The enlarged thumbprint printout will serve as my template as I lay down bits of color, image and text from color photocopies of Grace’s selected books onto the vellum, recreating the patterns of her print (above right image).
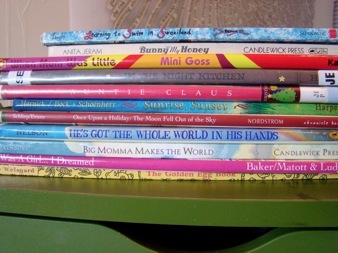
Here is Grace’s selection of favorite books......some with specific pages marked, some without:
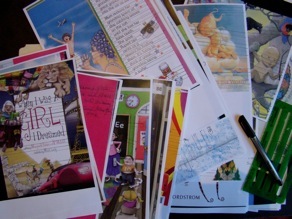
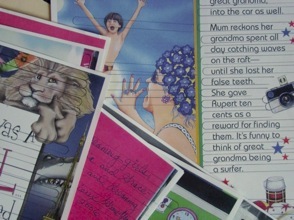
Once I had all of Grace’s books (most of which, luckily, her mom was able to bring to me, and then a couple of which I got from the library), I spent a chunk of time at Kinko’s (spending a LOT of time there these days.....I bribe the kids with fun coloring supplies and/or treats to keep them occupied while I do my thing) at the self-serve color copier copying the covers and pages of the books, enlarging here, reducing there, in order to get the most important parts to fit nicely into the 1/4-inch thick strips I later cut them into. Here are some images of the resulting copies, along with the lines marked for when I cut the strips.
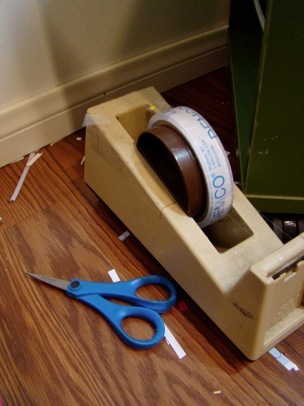
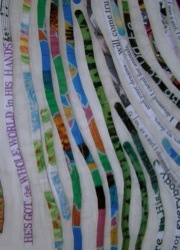
A shot of one of the pages cut into strips: And the tools of my trade:
I take each 1/4”-wide strip into tiny snippets, usually about 1/3” - 1/2” long, then tape it down: